



How to Build a Himalayan Salt Wall: Step-by-Step Guide

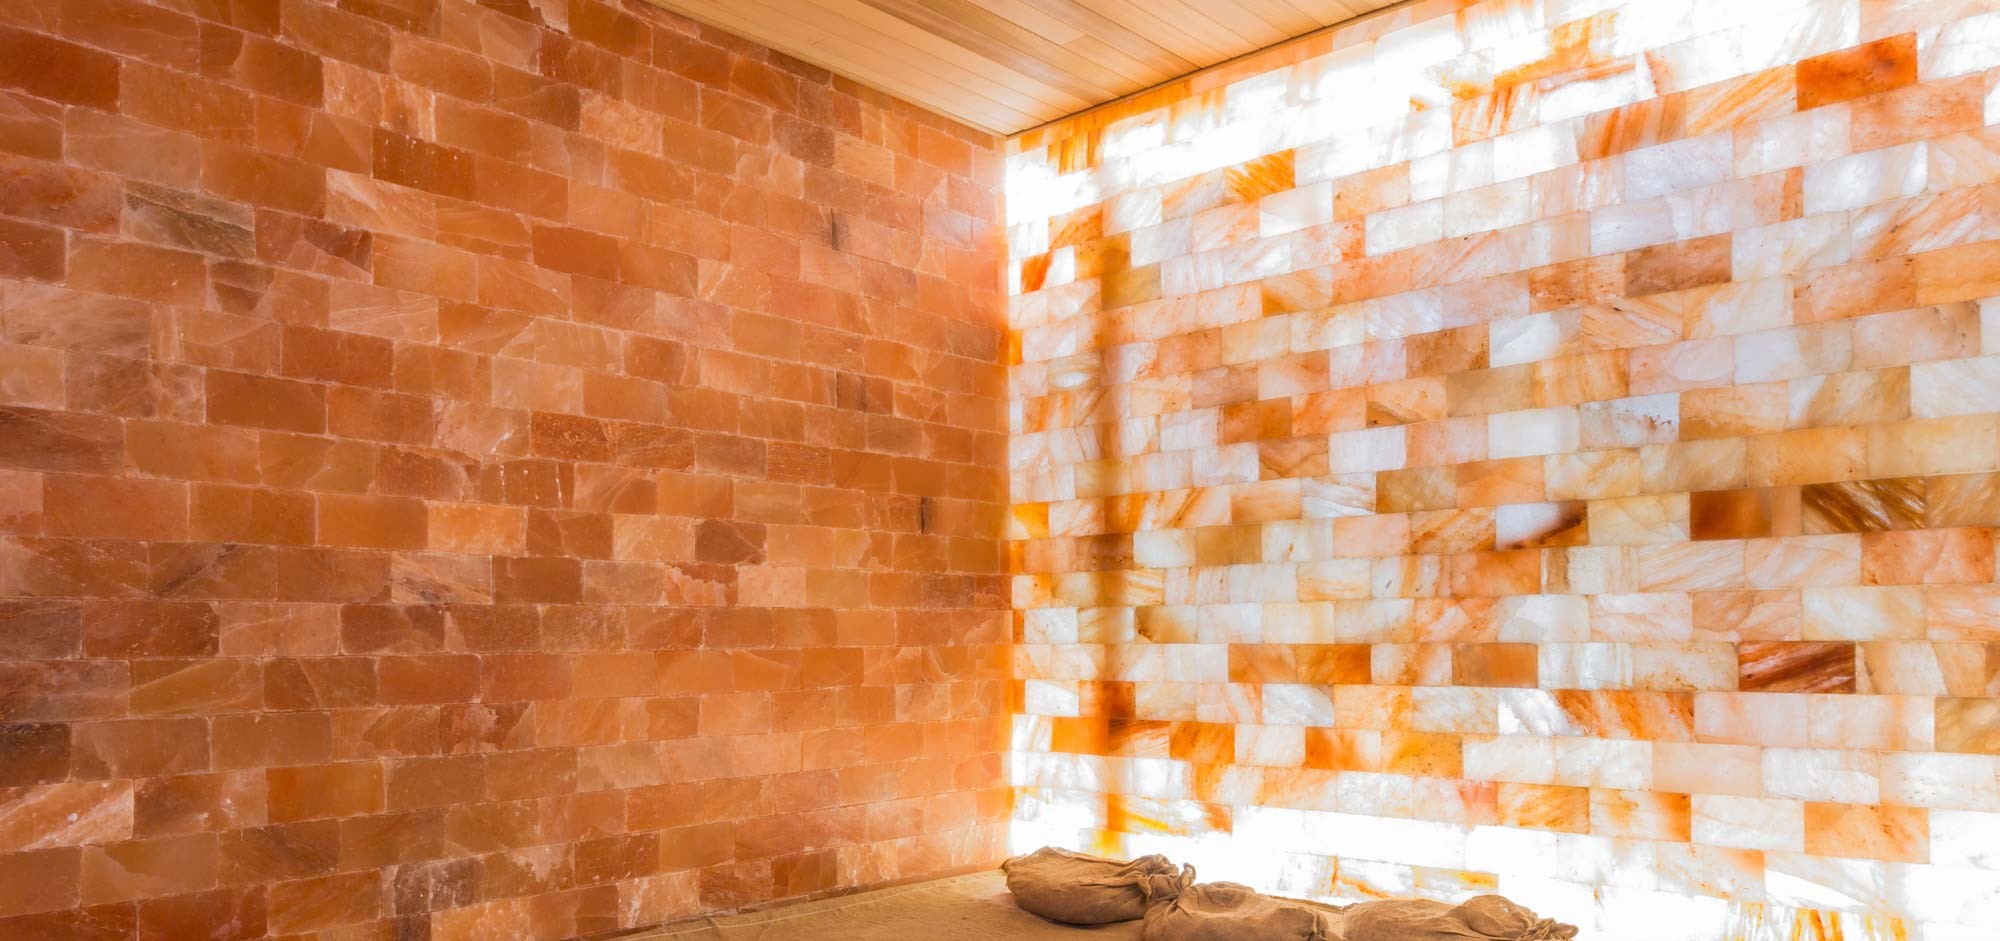
A Himalayan salt wall is one of those features that changes a room the second you walk in. The warm orange glow, the rough mineral texture, the faint smell of salt in the air. If you’ve ever sat in a halotherapy room or spa and felt like the walls themselves were doing something, that’s the effect a good salt wall has.
Building one isn’t complicated, but it does take the right materials and a bit of patience. This guide walks through the process from start to finish, using genuine Himalayan bricks for salt wall construction rather than the thin veneer panels that crack and fade within a year or two.
What You’ll Need Before You Start
Before you touch a single brick, get your materials sorted. Skimping here is where most DIY salt walls go wrong.
- Himalayan salt bricks (cut to consistent thickness, usually 1.5 to 2 inches)
- A backing panel: plywood, MDF, or a metal frame depending on the wall size
- Food-grade or salt-safe adhesive (regular construction adhesive breaks down over time from salt exposure)
- LED backlighting strips or rope lights, warm white or amber
- A moisture barrier if the wall is going in a humid space like a spa or bathroom
- Trim pieces to frame the edges
- Basic tools: level, tape measure, utility knife, caulk gun, safety gloves
Quality matters more than people expect. Himalayan bricks for salt wall installations should come from actual salt mine deposits, not compressed salt powder pressed into a mold. The real thing has visible crystal striations and holds up to years of gentle exposure. The compressed kind crumbles.
Step 1: Plan Your Layout and Measure the Space
Start by measuring the wall you’re working with, height and width, and sketch out how the bricks will lay. Most installers work in a running bond pattern, similar to a brick wall, because it hides seams better and looks more natural.
Decide now whether the wall will be freestanding, mounted flush against drywall, or built into a niche. Each approach changes how you frame the backing.
Step 2: Build or Prepare the Backing Structure
The backing is what everything else attaches to, so don’t rush it. For most residential and commercial installs, a sheet of exterior-grade plywood works well because it resists warping. Mount it securely to studs or a metal frame, and make sure it’s perfectly level before moving on.
If your wall is going somewhere with humidity, like a home spa or sauna room, add a moisture barrier between the backing and the wall behind it. Salt is hygroscopic, meaning it pulls moisture from the air, so trapped humidity behind the wall can cause problems down the line.
Step 3: Install the LED Lighting
This step happens before the bricks go up, not after. Run your LED strips or rope lighting across the backing panel in horizontal rows, spaced roughly 8 to 10 inches apart. Test the lighting before you seal anything in, since fixing a dead strip after the bricks are on is a much bigger headache.
Warm white or amber lighting is standard because it brings out the natural pink, orange, and white tones in the salt. Cooler blue-toned LEDs tend to wash out the color and make the wall look artificial.
Step 4: Attach the Himalayan Salt Bricks
Now for the main event. Working from the bottom row up, apply adhesive to the back of each brick and press it firmly against the backing panel, staggering the joints as you go. Use spacers if you want consistent gaps, or push them tight together for a more solid look.
A few things to keep in mind:
- Work in small sections so the adhesive doesn’t dry before you place the bricks
- Check level every two or three rows; small errors compound quickly
- Cut bricks as needed for edges and corners using a wet saw or angle grinder with a masonry blade
- Leave a small gap around outlets, switches, or any hardware built into the wall
Let the adhesive cure fully before moving to the next stage. Most salt-safe adhesives need at least 24 hours.
Step 5: Seal the Edges and Add Trim
Once the bricks are set, frame the perimeter with trim to give the wall a finished edge and protect the exposed backing material. This also helps contain any loose salt dust from cutting.
If the wall sits in a high-traffic area, a light sealant on the surface can help reduce dust shedding, though many people prefer to leave the salt untouched for a fully natural texture and the therapeutic benefit that comes with it.
Step 6: Test the Lighting and Do a Final Inspection
Turn the lights on and walk around the room. Look for uneven glow, gaps between bricks, or loose pieces. This is also the point to double-check that no wiring is exposed and that the wall feels solid when you press on it.
Maintenance Tips for a Long-Lasting Salt Wall
A properly built Himalayan salt wall needs very little upkeep, but a few habits extend its life:
- Dust gently with a dry cloth or soft brush, never a wet one
- Keep humidity in the room moderate; extreme swings cause surface sweating
- Avoid direct water contact or steam cleaners
- Inspect yearly for any bricks that have shifted or loosened
Why the Quality of Your Salt Bricks Matters
This is the part people underestimate. A salt wall is only as good as the bricks behind it. Cheap, low-density bricks absorb moisture unevenly, discolor faster, and are far more likely to crack during installation. That’s the whole reason RFS Tradings sources Himalayan bricks for salt wall projects directly, so installers and homeowners get consistent density, color, and crystal clarity across every batch.
Whether you’re building a small accent wall in a bedroom or a full halotherapy room for a wellness studio, starting with the right material saves you from redoing the job in a year.
Frequently Asked Questions
How much does it cost to build a Himalayan salt wall?
Costs vary by size, but most residential accent walls run a few hundred to a couple thousand dollars in materials, depending on brick thickness and lighting quality. Commercial halotherapy rooms cost more due to size and ventilation requirements.
Do Himalayan salt walls actually have health benefits?
Many people use them as part of halotherapy practices, believing they help with respiratory and skin conditions through the release of negative ions and trace minerals. Results vary and it’s worth treating this as a wellness feature rather than a medical treatment.
Can I install a salt wall myself, or do I need a professional?
A single accent wall is very doable as a DIY project if you’re comfortable with basic construction work. Larger rooms, especially ones needing proper ventilation and humidity control, are usually better left to an experienced installer.
How long do Himalayan salt bricks last?
With proper installation and normal indoor humidity, salt bricks can last for decades. The mineral itself doesn’t degrade; it’s moisture exposure and poor-quality material that cause most problems.
Ready to start your own project? Browse genuine Himalayan bricks for salt wall installations at RFS Tradings and get materials that are built to last.